34
Last week when I posted my Get Messy pages, I had one with a confetti pocket on it. One of my readers asked if I make them myself and if so, if I have any tips for how you can make some, too. The answer is: yes and yes! Of course you can also sometimes buy readymade confetti pockets from scrapbooking manufacturers, but most of the time they are quite expensive and may not look exactly the way you want/need them.
So today I will share three super easy ways how you can make your own confetti pockets in just a few minutes and with only a handful of tools/materials to fit your style and needs!
If you don't have some little glassine bags which you can just fill with some sequins, wood veneer pieces or whatever you like to make a confetti pocket in under a minute, here's how you could do it:
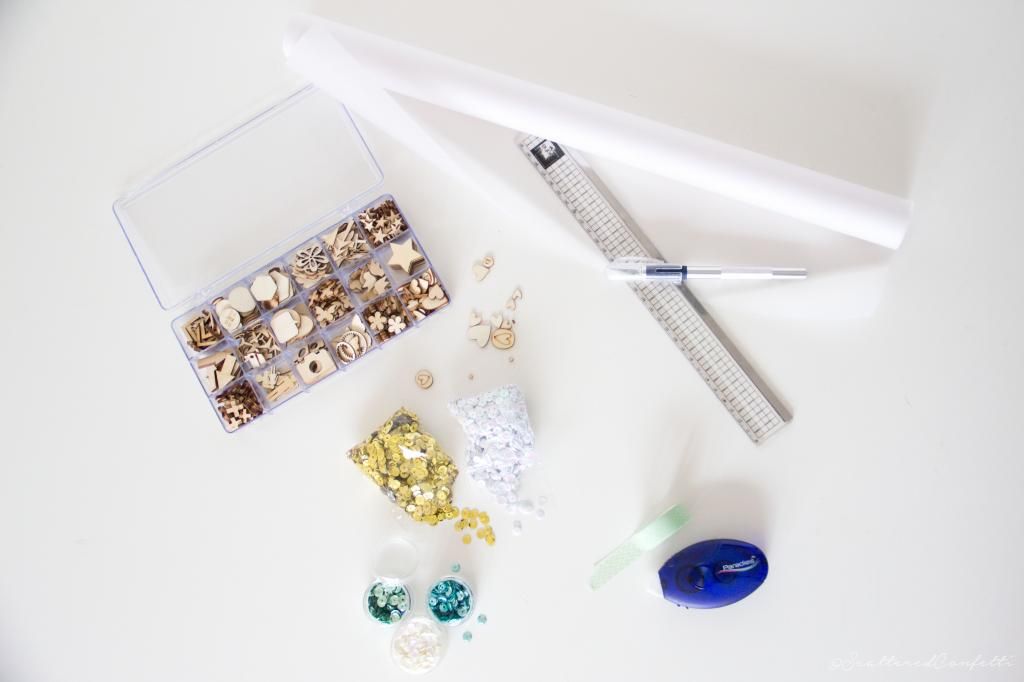
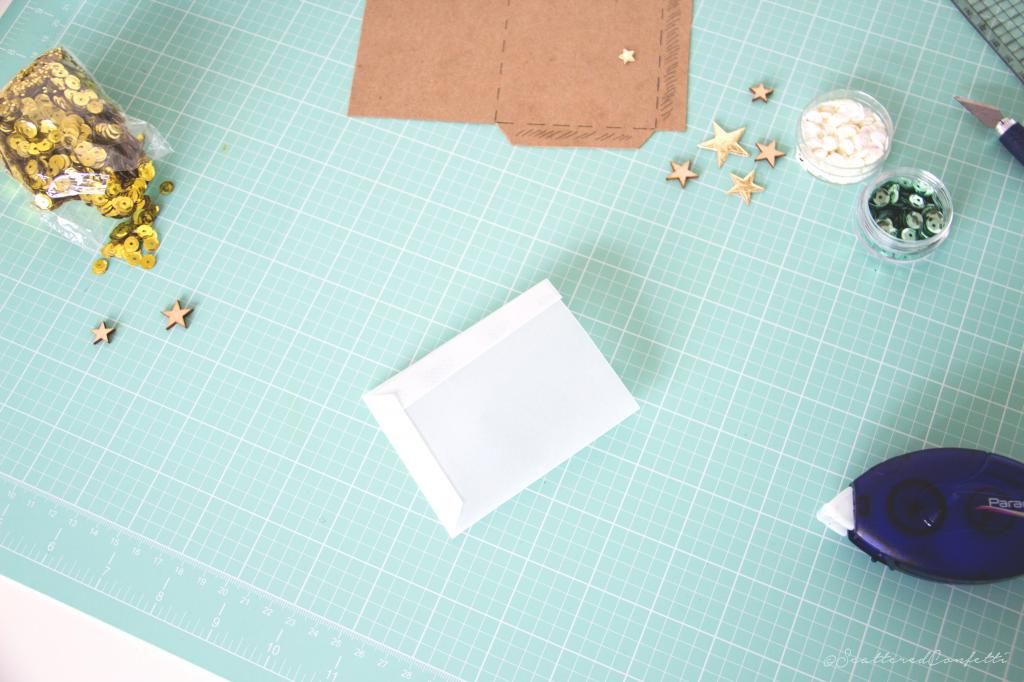
All you need is some sturdy transparency paper, a cutter, a ruler, some sequins, wood veneer shapes or whatever else you want to use to fill the pockets, a glue roller, your favourite washi tape and, for one of the three ways, a sewing machine.
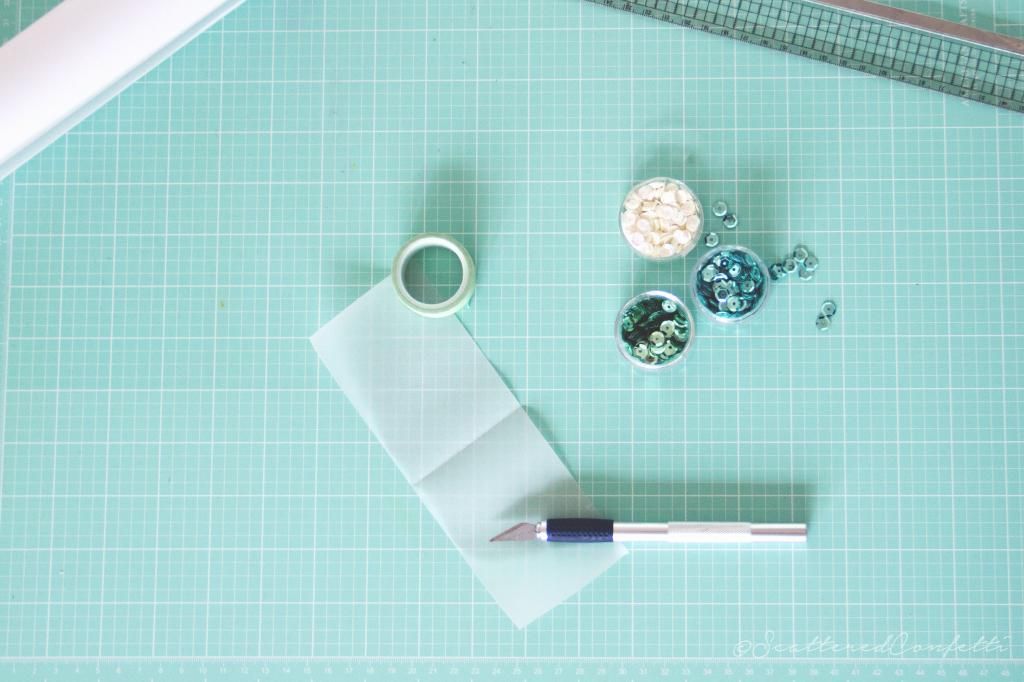
First Option: The Washi Pocket
For this kind of confetti pocket you need to cut a rectangular shape from the transparency paper and fold it in half. The side where you fold it should be the bottom of your pocket, so you only need to put washi on the left and the right side to really create a pocket. When you have that, fill it with whatever you like and then close it by putting another strip of washi on it.
It will look like a little confetti frame :) You could also put some washi on the bottom side of the pocket to "close" the frame - however you like it!
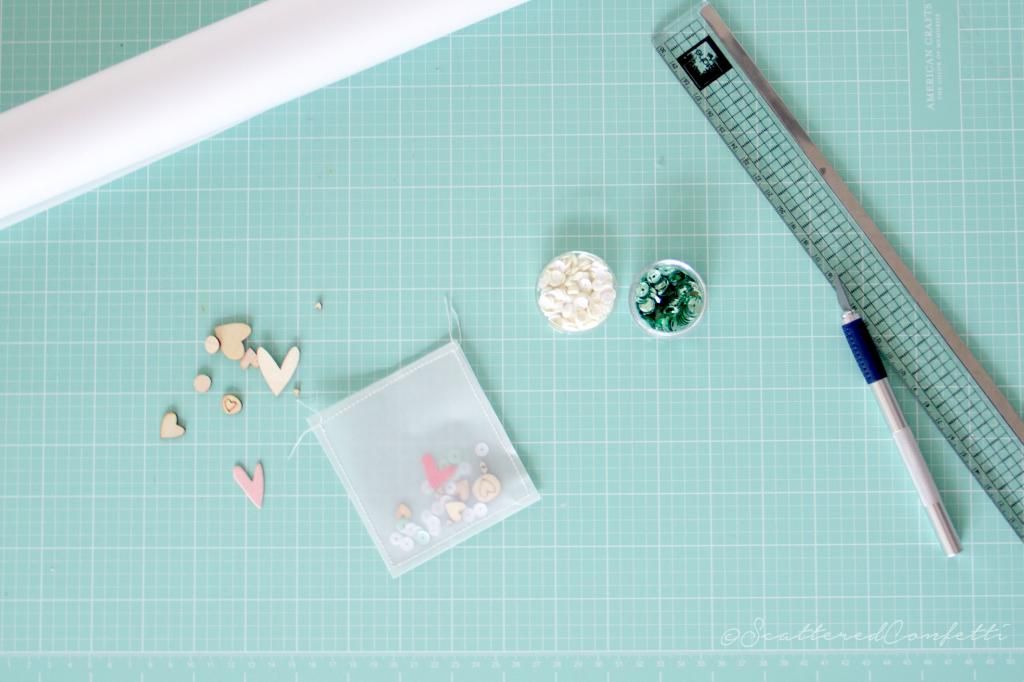
Second Option: The Sewn Pocket
For this pocket you can start with whatever shape you like. Either you also cut a rectangular or square shape from the transparency paper and stitch up the left and right side so you can then fill it, or you could also cut two hearts/circles/stars/dodecahedrons (you get the idea ;) ). Then just sew the two pieces together but leave a small opening to fill the pockets!
When you put in enough sequins, glitter and other fun bits and bobs, you can close them by stitching up the opening as well. Done!
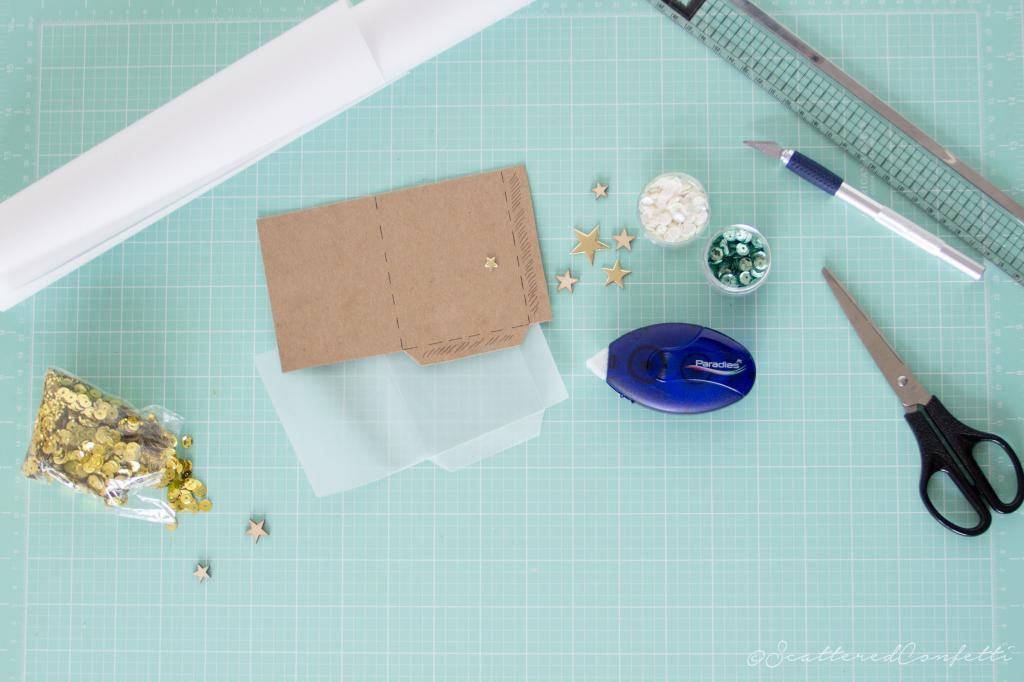
Third Option: The Glued Pocket
This pocket is a good alternative when you a) don't have a sewing machine or when you b) don't want washi on your pockets.
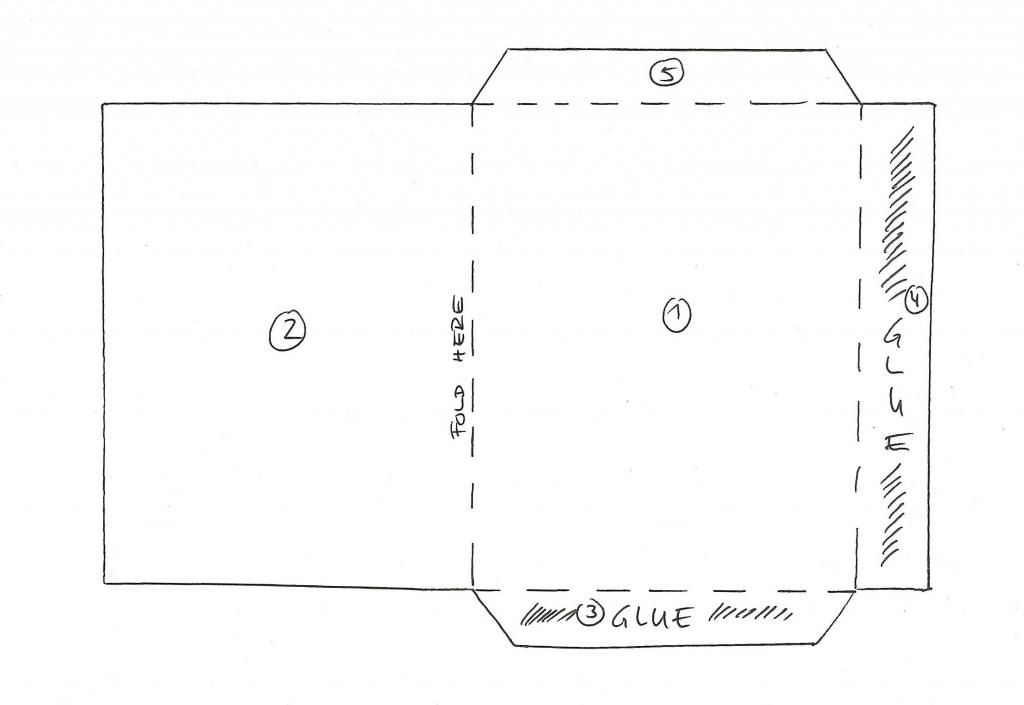
From your transparency paper cut out the basic shape of a little pocket (I made a little draft for you), then fold side 1 so that it lies on side 2. Now close it by folding and glueing down the flaps (3 and 4).
Now your pocket is ready to be filled! You can then either close it by leaving a flap on the upper side (5) and glueing it down as well, or you leave it open and put it in place with a strip of washi (like I did on my Get Messy page last week).
A tip for making a pocket like this really quickly: I made myself a few cardstock stencils for some pockets in different sizes so I just need to trace around it and cut it out. :)
So, there you have it: three ways how to easily and quickly make some
confetti pockets you can then use for layouts, art journal pages, as
gift tags, etc.
If you have any questions or something isn't really clear (I really tried to explain it as easy as possible, but sometimes I feel I overcomplicate things :D), let me know in the comments! :)